GLSL着色器入门(一)- Learn GLSL Shaders from Scratch
2022年11月12日大约 4 分钟
着色器
顶点
- OpenGL 处理三角,而三角形是由三个点组成的,我们称之为
顶点 vertex - 每个顶点位置由三个方向参数组成,即x,y,z
- x,y,z 组成了世界坐标系
渲染
当知道了三角形的顶点位置,我们可以绘制出三角形,然后再对其内部填充。
这个过程主要分为两步:定位和着色。这两个步骤,在GLSL着色器中是分别通过 顶点着色器 和 片元着色器Fragment shader处理的。
定位Position-->顶点着色器Vertex shader, 将模型坐标系的顶点坐标转换到裁剪坐标系着色Color-->片元着色器Fragment shader, 将像素着色为rgba格式
Z缓冲Z-buffering
显示3D内容的时,前面的内容将会覆盖后面的内容 Z-buffer缓存了像素到相机的距离 这个逻辑交由渲染器处理
我们无需考虑z缓冲,只需要了解当前着色器如何处理顶点以及如何对它们进行上色就好了。
GLSL 基本语法
- GLSL语法有点类似C语言,它是强类型的。
int num1 = 1;
float num2 = 33.3;
bool isFacing = true;
它强制带分号
常见类
vec
vec2 v = vec2(0.5);  // v.x == 0.5, v.y == 0.5
w = v * 2.0; // w.x == 1, w.y == 1

vec3 v3 = vec3(0.5);  // v.x == 0.5, v.y == 0.5, v.z == 0.5

vec4 v4 = vec4(0.5);  // v.x == 0.5, v.y == 0.5, v.z == 0.5, v.w == 0.5
// interger 整数
ivec2 i1 = vec2(1); // i1.x == 0.5, i1.y == 0.5
ivec3 i2 = vec3(1); // i2.x == 0.5, i2.y == 0.5, i2.z == 0.5
ivec4 i3 = vec4(1); // i3.x == 0.5, i3.y == 0.5, i3.z == 0.5, i3.w == 0.5
// boolean 布尔
bvec2 b1 = vec2(true); // b1.x == 0.5, b1.y == 0.5
bvec3 b2 = vec3(true); // b2.x == 0.5, b2.y == 0.5, b2.z == 0.5
bvec4 b3 = vec4(true); // b3.x == 0.5, b3.y == 0.5, b3.z == 0.5, b3.w == 0.5if语句
if(condition) {
  // do somthing
} else {
  // do somthing
}for循环
const int count = 10; // count必需!
for(let i = 0; i< count; i++) {
  // do somthing
}- 函数
bool isRect(vec2 pt, vec4 rect) {
  bool result = false;
  // calculate if pt is in rect....
  return result;//
}

// 重载。拥有相同的函数名,不同的形参。
bool isRect(vec2 pt, float x, float y, float width, float height) {
  bool result = false;
  // calculate if pt is in rect....
  return result;//
}
Get Started!
- 在
three.js中,着色器代码分为两块,分别为 顶点着色器 和 片元着色器。这两块分别有有个main函数 - 顶点着色器代码需要设置
gl_Position, 它需要使用projectionMartix、modelViewMatrix和顶点位置position三个参数。 - 片元着色器代码需要设置
gl_FragColor的值为一个rgba(vec4)值。 - r、g、b、a四个值的范围为
0~1.0
顶点转换
modelMatrix: 将顶点从本地坐标系转换到世界坐标系viewMatrix: 将顶点从世界坐标系转换到相机视图projctionMatrix: 将顶点从裁剪坐标系转换到屏幕坐标系modeelViewMatrix: 结合modelMatrix和viewMatrix的结果

代码
position坐标的值为一个vec3,由于矩阵运算的前两个值为vec4,所以需要先将其转化为vec4:vec4(position * 0.5, 1.0)
在shader代码中 对向量进行运算时, 向量的每个值将分别进行运算
const vshader = `
void main(){
gl_Position = projectionMatrix * modelViewMatrix * vec4(position * 0.5, 1.0);
}
`;
const fshader = `
void main() {
gl_FragColor = vec4(1.0, 0.2, 0.3, 1);
}
`;
const material = new THREE.ShaderMaterial({
vertexShader: vshader,
fragmentShader: fshader,
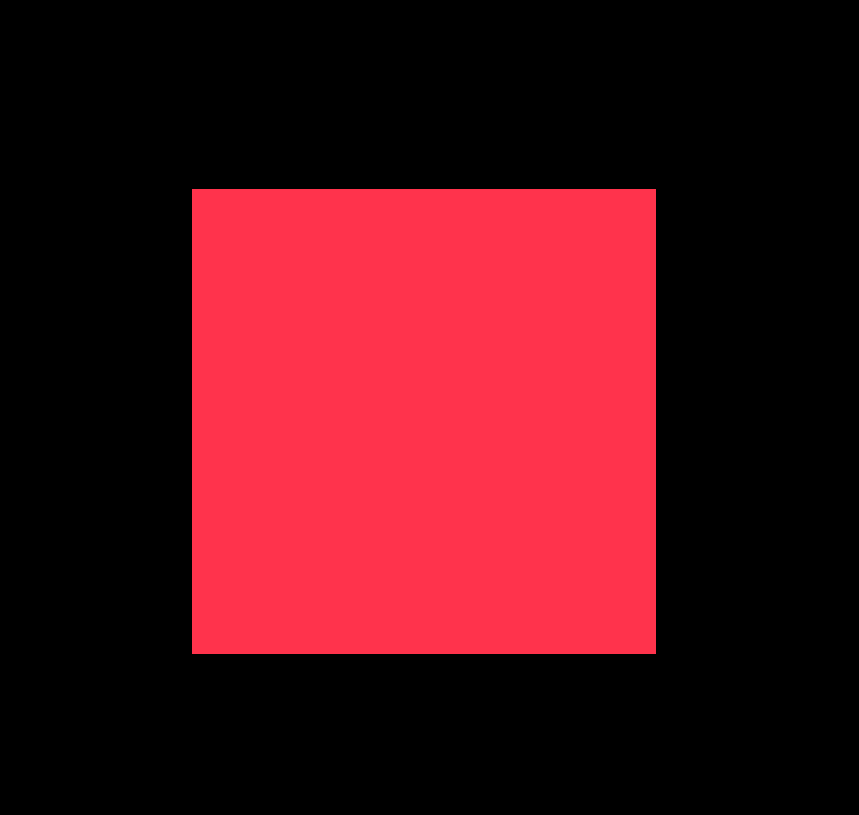
});结果
向shader传参 - uniforms
three.js中通过uniforms进行传参,常见参数值为向量
- 颜色
vec3 u_color - 鼠标移动
vec2 u_mouse、 - 屏幕像素
vec2 u_resolution - 时间
vec u_time
swizzle
向量支持swizzle操作,可以将向量的值进行顺序的调整
position.yxz

u_color.brga
uniforms
在shader代码中:
- uniforms 必须在main函数外声明
- three.js 颜色会被转成一个vec3/uniform
在 three.js中,可以通过uniforms 将 js 中的值传入 shader 中去。
示例:
const vshader = `
void main() {
  gl_Position = projectionMatrix * modelViewMatrix * vec4( position * 0.5, 1 );
}
`;
const fshader = `
uniform vec3 u_color;
uniform vec2 u_mouse;
uniform vec2 u_resolution;
uniform float u_time;
void main (void)
{
  // vec2 v = u_mouse / u_resolution;
  // vec3 color = vec3(v.x, 0, v.y);
  vec3 color = vec3((sin(u_time) + 1.0) / 2.0, 0.0, (cos(u_time) + 1.0) / 2.0);
  gl_FragColor = vec4(color, 1.0).brga;
}
`;

const scene = new THREE.Scene();
const camera = new THREE.OrthographicCamera(-1, 1, 1, -1, 0.1, 10);

const renderer = new THREE.WebGLRenderer();
renderer.setSize(window.innerWidth, window.innerHeight);
document.body.appendChild(renderer.domElement);

const clock = new THREE.Clock();

const geometry = new THREE.PlaneGeometry(2, 2);

const uniforms = {
  u_color: {value: new THREE.Color(0x0000ff)},
  u_resolution: {value: {x: 0, y: 0}},
  u_mouse: {value: {x: 0, y: 0}},
  u_time: {value: 0},
};

if ("ontouchstart" in window) {
  window.addEventListener("touchmove", move);
} else {
  window.addEventListener("resize", onWindowResize);
  window.addEventListener("mousemove", move);
}

function move(evt) {
  if (evt.touches) {
    uniforms.u_mouse.value.x = evt.touches[0].clientX;
    uniforms.u_mouse.value.y = evt.touches[0].clientY;
  } else {
    uniforms.u_mouse.value.x = evt.clientX;
    uniforms.u_mouse.value.y = evt.clientY;
  }
}

const material = new THREE.ShaderMaterial({
  uniforms,
  vertexShader: vshader,
  fragmentShader: fshader,
});

const plane = new THREE.Mesh(geometry, material);
scene.add(plane);

camera.position.z = 1;

onWindowResize();

animate();

function onWindowResize(event) {
  const aspectRatio = window.innerWidth / window.innerHeight;
  let width, height;
  if (aspectRatio >= 1) {
    width = 1;
    height = (window.innerHeight / window.innerWidth) * width;
  } else {
    width = aspectRatio;
    height = 1;
  }
  camera.left = -width;
  camera.right = width;
  camera.top = height;
  camera.bottom = -height;
  camera.updateProjectionMatrix();
  renderer.setSize(window.innerWidth, window.innerHeight);

  if (uniforms.u_resolution !== undefined) {
    uniforms.u_resolution.value.x = window.innerWidth;
    uniforms.u_resolution.value.y = window.innerHeight;
  }
}

function animate() {
  requestAnimationFrame(animate);
  renderer.render(scene, camera);
  uniforms.u_time.value = clock.getElapsedTime();
}